Next.js
In this guide, you'll learn how to add Rollout integrations in your Next.js app.
Prerequisites#
To complete this guide, you will need:
- A Rollout account
- Docker: download from docker.com/get-started
- A local dev tunnel like ngrok
1. Create a Rollout project and run it locally#
Clone the starter template. You can clone it in the root of your Next.js app or keep it in a separate repo:
# In your terminal$ git clone https://github.com/RolloutHQ/rollout-project-template.git rollout$ cd rollout# Install dependencies$ yarn
Tip: Remember to delete the git reference by calling
rm -rf .gitin the root of the Rollout project
To run your Rollout project locally:
- Run ngrok and forward to local port 3300
ngrok http 3300
- Open Docker Desktop
- Start running your Rollout project. In the root of your project, run the command:
You can find your project key at dashboard.rollout.com and your tunnel URL in step 1
$ yarn rollout dev --project-key=YOUR_PROJECT_KEY --tunnel-url=YOUR_TUNNEL_URL
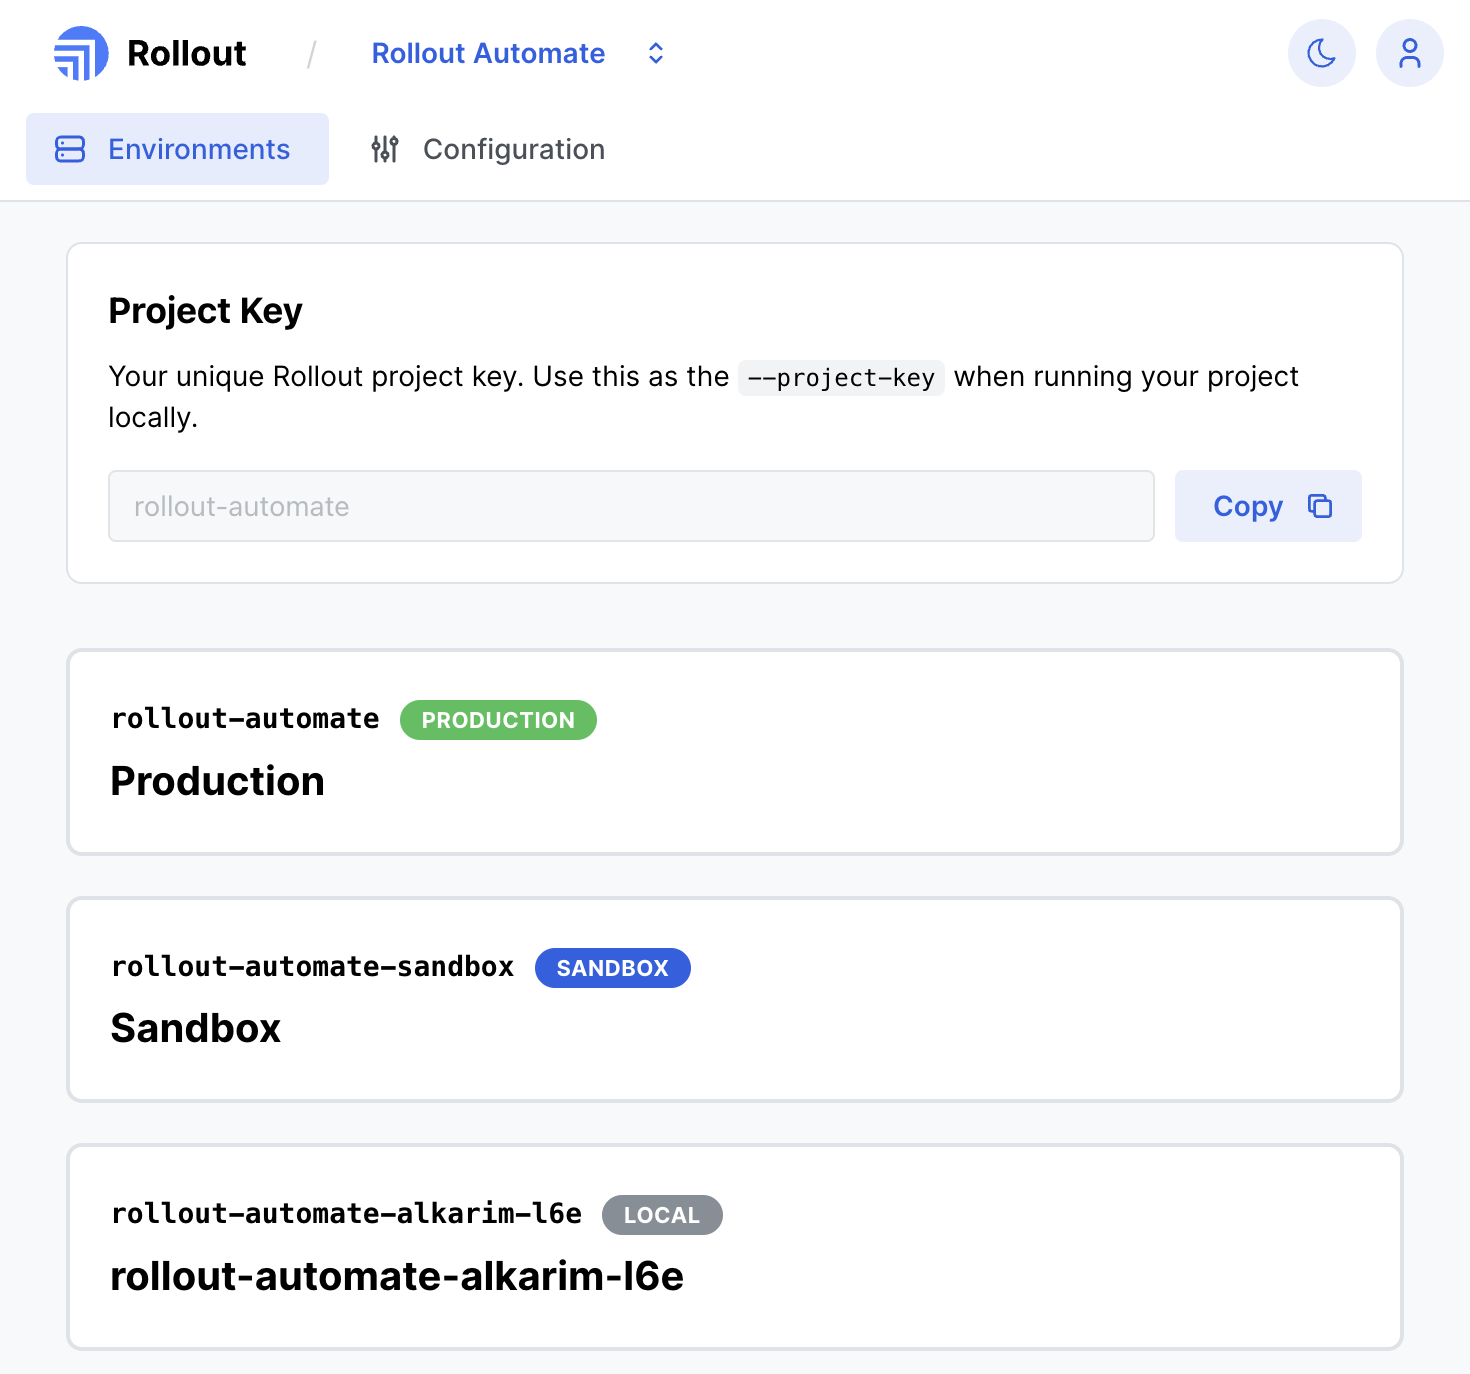
When you go to your dashboard, you should see an environment labeled LOCAL for your local development.
Clicking on this environment will let you see your local ROLLOUT_CLIENT_SECRET:
2. Add an API route to generate a Rollout token#
In your Next.js app, add an API route to generate an authentication token:
Tip: run
yarn add jsonwebtokento add the package
// In app/rollout-token/route.tsimport { NextResponse } from 'next/server';export const dynamic = 'force-dynamic';const jsonwebtoken = require('jsonwebtoken');function genToken(userId: string) {const nowSecs = Math.round(new Date().valueOf() / 1000);return jsonwebtoken.sign({iss: process.env.ROLLOUT_PROJECT_KEY, // Find at https://dashboard.rollout.com/sub: userId,iat: nowSecs,exp: nowSecs + 60 * 10,},process.env.ROLLOUT_CLIENT_SECRET, // From the previous step{ algorithm: 'HS512' });}// Assumes you'll pass it the userId as a query paramexport async function GET(request: Request) {const { searchParams } = new URL(request.url);const userId = searchParams.get('userId');const token = genToken(userId as string);return NextResponse.json({ token });}
3. Render a Rollout UI Component in your app#
First install @rollout/connect-react and its peer dependency @tanstack/react-query
yarn add @rollout/connect-react @tanstack/react-query@^4.33.0
Then render the following component in one of your pages
// In components/Integration.tsx"use-client";import "@rollout/connect-react/default.css";import {RolloutConnectProvider,AutomationsManager,} from "@rollout/connect-react";export function Integrations() {const userId = "testUserId"; // Replace with a real user IDconst fetchToken = async () => {const response = await fetch(`/rollout-token?userId=${userId}`);const data = await response.json();return data.token;};return (<><RolloutConnectProvidertoken={fetchToken}apiBaseUrl="http://localhost:3300/api"><AutomationsManager /></RolloutConnectProvider></>);}
Code Example#
Read the source code or try it yourself by running this example repository: github.com/RolloutHQ/rollout-nextjs-example