Whitelabeling Connectors
By default, Connectors to Apps that use OAuth will display a Rollout-branded pop-up requesting the user's consent to make API requests on their behalf:

Whitelabeling allows you to provide credentials from your own Oauth client so that the pop-up window displays your name and branding rather than Rollout's.
How to Whitelabel a Connector#
To whitelabel a given Connector, you must first create an Oauth client for the corresponding App. The process for doings so will vary from App to App.
Once you have have your Oauth client set up, you will need to determine the values you need to set in order to use your client rather than Rollout's. To do so, navigate to the Rollout dashboard, find the Project Environment in which you wish to whitelabel a Connector, and select "Whitelabeling" from the top nav bar:

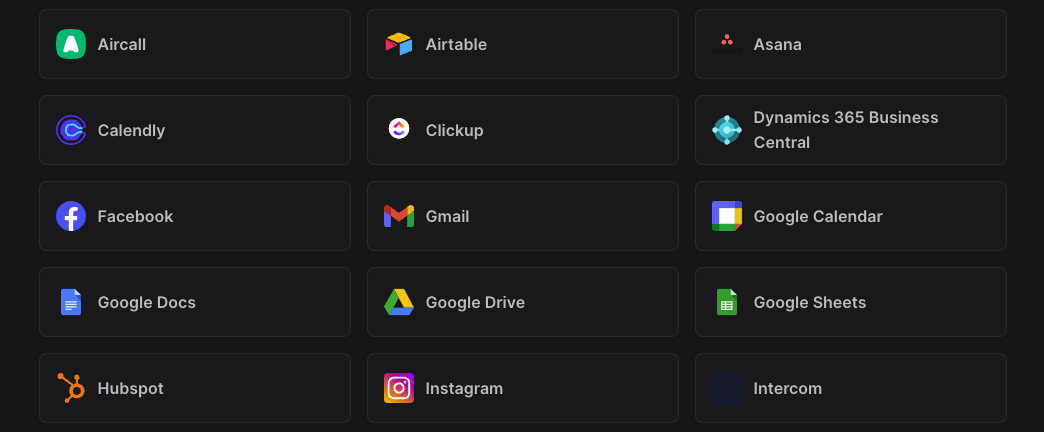
There you will see a a list of the all of the Connectors that can be whitelabeled:
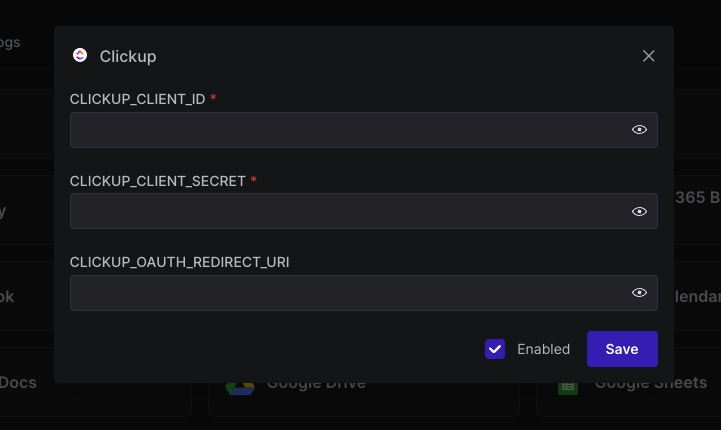
Clicking on the card for the desired connector will display the values you need to provide in order to whitelabel the Connector. You will typically need at least a client id and and client secret, but additional values are sometimes required. If "Enabled" is checked, then the Connector will be whitelabled. You can uncheck "Enabled" if you'd like to save your whitelabeling configuration but you are not yet ready to use your Oauth credentials instead of Rollout's.
Whitelabeling in Local Development#
If you wish to whitelabel a Connector while developing locally, you can set the required values as environment variables